
The plumber rods the line, the blockage clears, and everyone is relieved. Two days later there is a small puddle around the cleanout cover, a faint sewage smell in the plant room, and a stain spreading across the screed. The cleanout cap was never the problem; the way it was put back is. A cleanout that is opened once and not resealed correctly can weep for months, and the water often travels under the tile before anyone sees it.
This is a common complaint in commercial buildings, basements, plant rooms and older residential blocks. The drain is clear, the cover looks closed, and the leak is small enough to be dismissed as condensation. By the time the floor is opened, the screed is wet and the fix is no longer a five-minute job.
The complaint: a cap that looks tight but drips
The sequence is almost always the same. A contractor opens the cleanout to rod the line. The cap is removed with a wrench, the thread is wiped, and the cap is refitted. It feels tight. The next day there is a drip at the base. The contractor returns, tightens it harder, and the drip slows but does not stop. A week later the cap is cracked or the thread is stripped, and the only remaining option is to cut out the cleanout.
The mistake is not malice or carelessness. It is a misunderstanding of how a threaded cleanout seals. The cap does not seal because it is tight. It seals because the thread is clean, the O-ring or gasket is present and undamaged, and the cap is tightened to the right point. Over-tightening is as harmful as under-tightening, especially on plastic bodies and older cast-iron threads.
Six hard failures behind a weeping cleanout
- The O-ring is missing or cut. Many cleanout caps seal on a rubber O-ring or a flat gasket. If the ring is left on the floor, pinched during refitting, or swollen by a chemical, the cap will weep no matter how hard it is turned.
- The thread is dirty or damaged. Grit, old thread paste, rust scale or a crossed thread gives a false tightness. The cap stops against debris, not against the seat. A wire brush and a clean rag are part of the job, not an optional extra.
- The wrong cap or thread form. Taper threads and parallel threads are not interchangeable. A cap from a different standard may engage for a few turns and then leak under pressure. If the original cap is lost, replace it with the same thread form and size, not the nearest one in the van.
- Over-tightening cracks the body. Plastic cleanouts and thin cast bodies can split at the thread. The crack may be invisible until the line is under load. A cap should be hand-tight plus a small final turn, not a long lever on a wrench.
- The seat is scored or pitted. A scratched seat will not hold a gasket. On an old cleanout, the seat may need to be dressed or the whole body replaced. Paste or tape can mask a leak for a while, but it is not a repair.
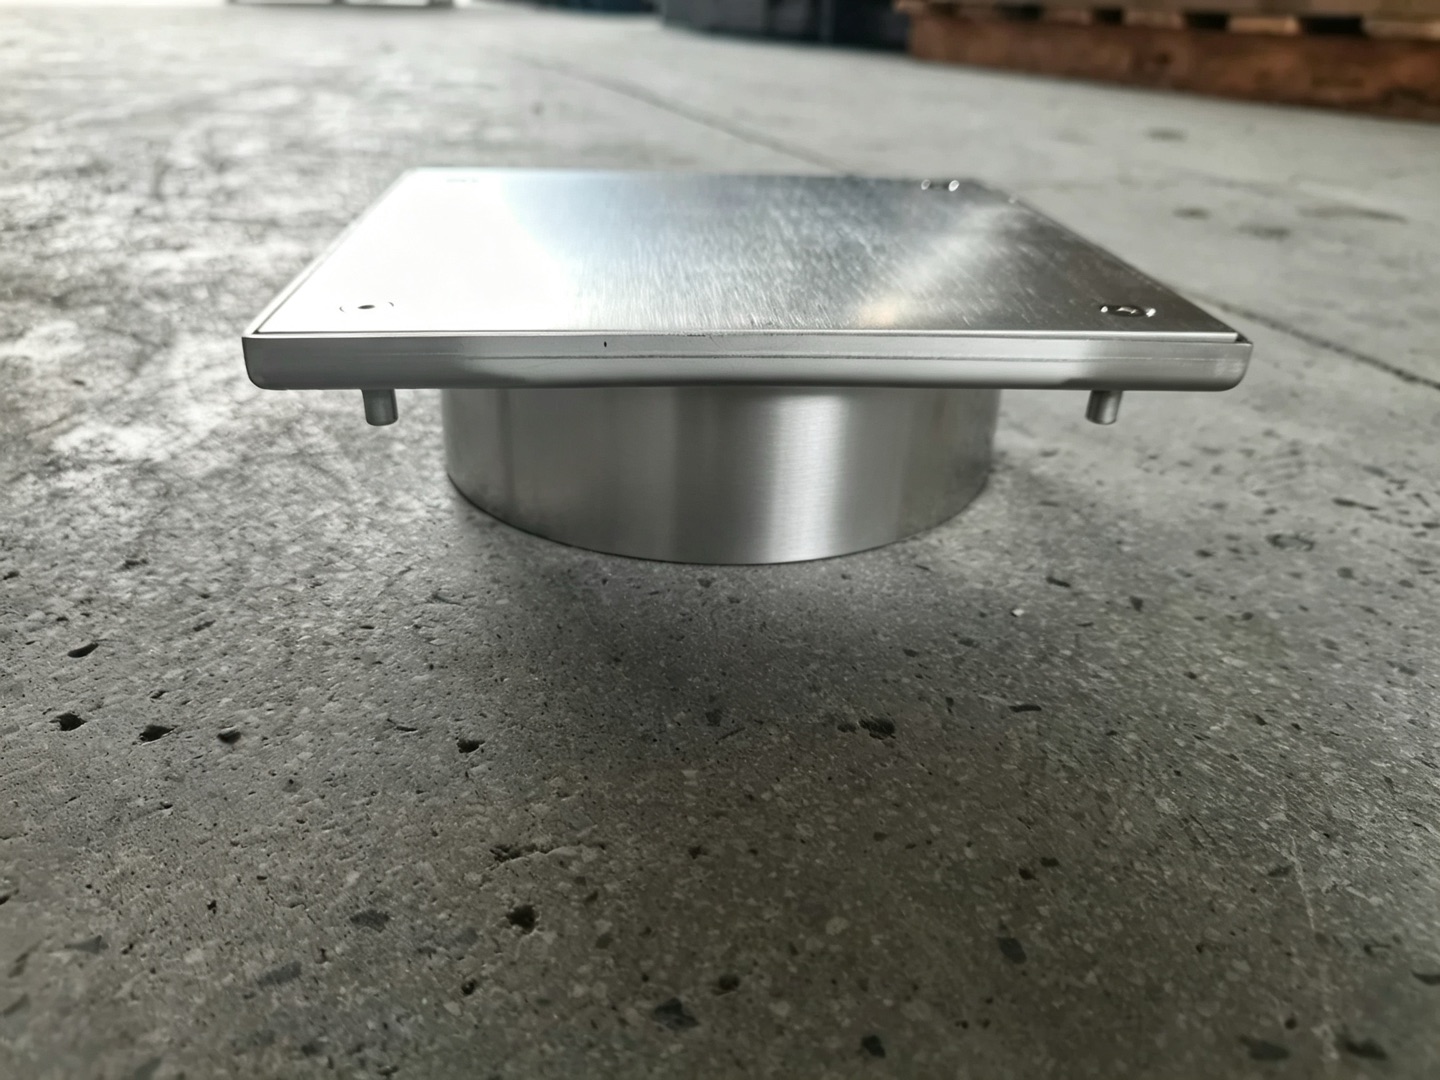
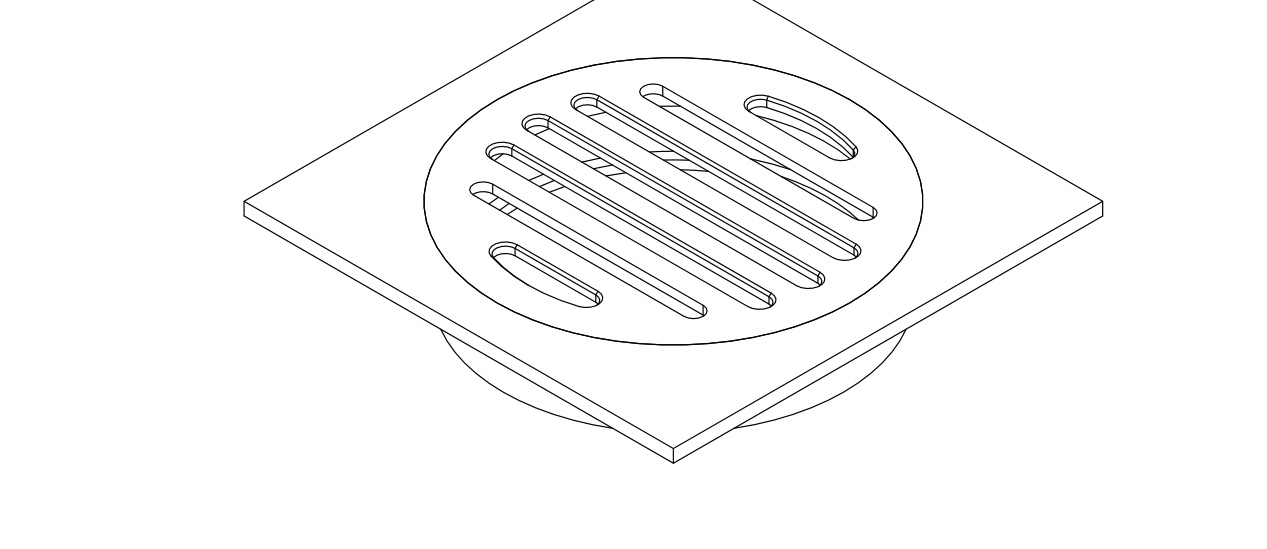
- The cover is not the seal. On a floor cleanout, the visible cover is often a grate or a plate that sits over a separate plug. If the plug below is loose, the cover can look perfect while water passes underneath. Always check the actual sealing element, not only the surface cover.
What actually fixes it
The correct repair starts with isolation and inspection. Open the cleanout, clean the thread and seat, inspect the O-ring, and check the cap for cracks. Replace the O-ring if there is any doubt; it is a low-cost part and the labour to reopen the floor is not. Refit the cap by hand, then tighten only to the point recommended by the manufacturer. If the body is cracked, replace the cleanout rather than trying to seal it from the outside.
For new work, choose a cleanout with a proper sealing plug and a body material that matches the line. A stainless steel 304 cleanout is a good default for interior drainage; 316 is the better choice for coastal sites, chloride cleaners and some process areas. The cover should be accessible without breaking the tile, and the body should be bedded so that traffic load is transferred to the slab, not to the pipe.
In a commercial kitchen or plant room, a heavy-duty cleanout with a removable grate and a sealed plug is more useful than a decorative cover. The floor drain and the cleanout should be detailed as part of one drainage system, with the same outlet size and the same bedding detail.
After any rodding or repair, test the joint before the floor is closed. A simple low-pressure water test, held for the time specified by the project, will show a weep that a visual inspection misses. Photograph the open cleanout and the test result. If the line is in a basement or a plant room, check the area again after the first heavy use, not only on the day of the repair.
Numbers that matter
Cleanouts are commonly supplied in DN50, DN75 and DN100 sizes, and the outlet must match the line, not the nearest available cap. The sealing plug should have a serviceable O-ring, and the cover should be sized to the body so that it cannot fall in. A 150 x 150 mm floor cleanout cover is a common commercial size; a 100 mm round cover is common in residential work. The body depth must allow the plug to sit below the finished floor without holding water. A cover that stands proud is a trip edge; a cover that sits too low collects water and grit.
Do not confuse a cleanout with a floor drain. A cleanout is an access point; it is not designed to take continuous flow. If a floor drain is repeatedly backed up, the answer is a properly sized line and a rodding point, not a larger cleanout cover.
Certification and verification
Specify cleanouts that are CE marked to EN 1253 where the product is in scope and manufactured under an ISO 9001 system. For Australian projects, ask for WaterMark where the product page states it. On delivery, check the thread form, the O-ring, the cover size and the body material against the order.
For sanitary ware and wet-area work, the cleanout is part of the waterproofing detail. The membrane should be turned into the body, the bedding should be solid, and the cover should be removable without damaging the finish. A cleanout that is sealed with silicone from the outside is a future leak, not a repair.
Where to start
If a cleanout has started to weep, stop tightening it. Open it, inspect the O-ring and the seat, and replace what is damaged. If you are specifying a new drain, choose a body with a serviceable plug and a cover that matches the floor. Browse our floor cleanouts and heavy-duty access covers, or send us the line size, the floor finish and the traffic load, and we will match a cleanout to the detail.